 Polymer clay earrings are wonderfully creative, but knowing exactly what to buy when you’re first starting can feel a little overwhelming. There are cutters, rollers, blades, findings, drills and dozens of different types of clay—and it can be difficult to tell what you genuinely need and what can wait until later.
The good news is that you don’t need a studio full of professional equipment to make your first pair.
To start making polymer clay earrings, you’ll need:
-
Quality oven-bake polymer clay
-
A smooth work surface
-
An acrylic roller and depth guides
-
Simple polymer clay cutters
-
A sharp tissue blade
-
A tool for making holes
-
An oven
-
Wet and dry sandpaper
-
Jewellery pliers
-
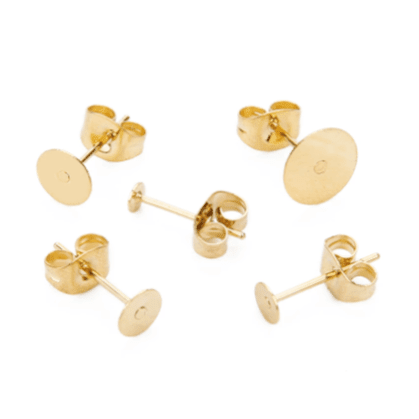
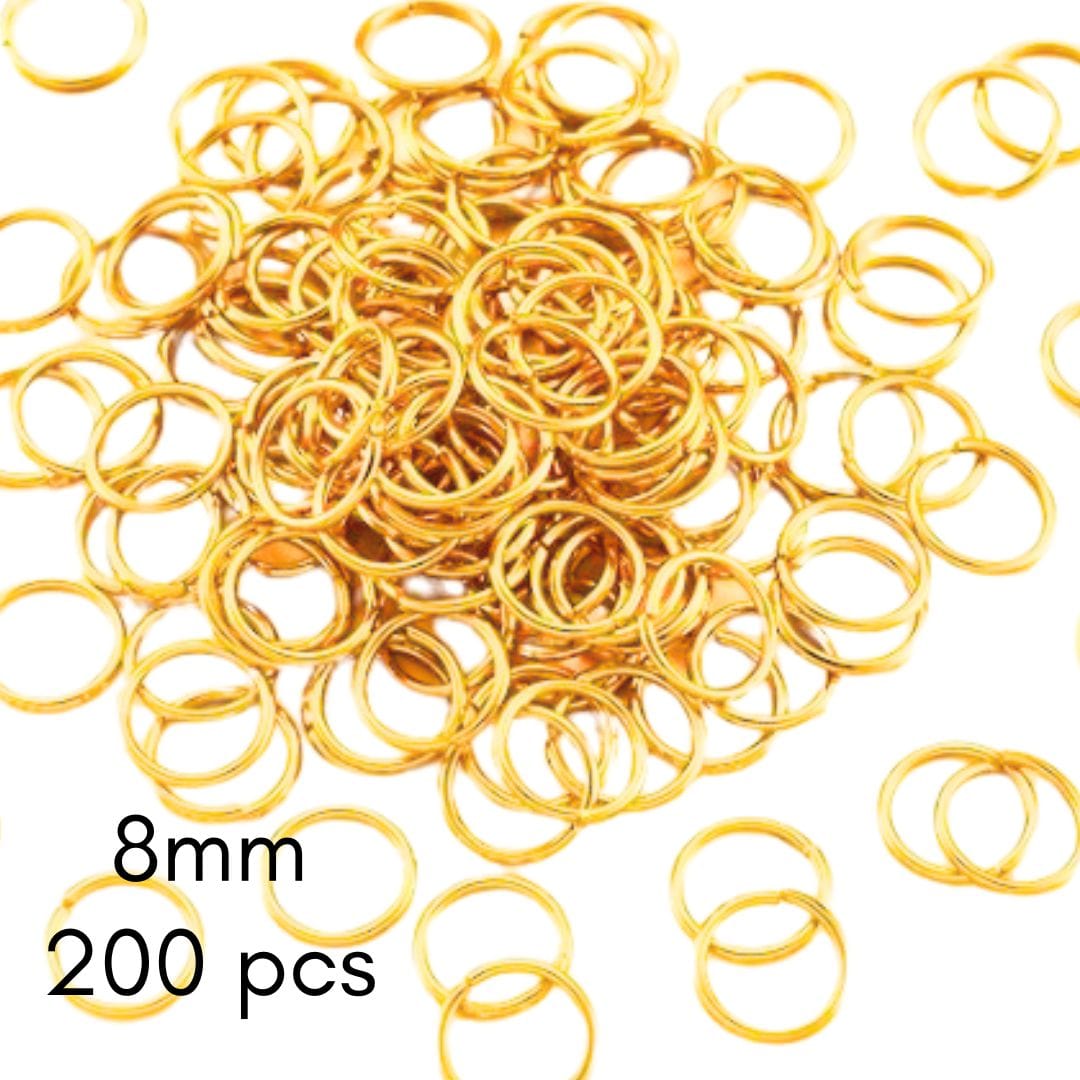
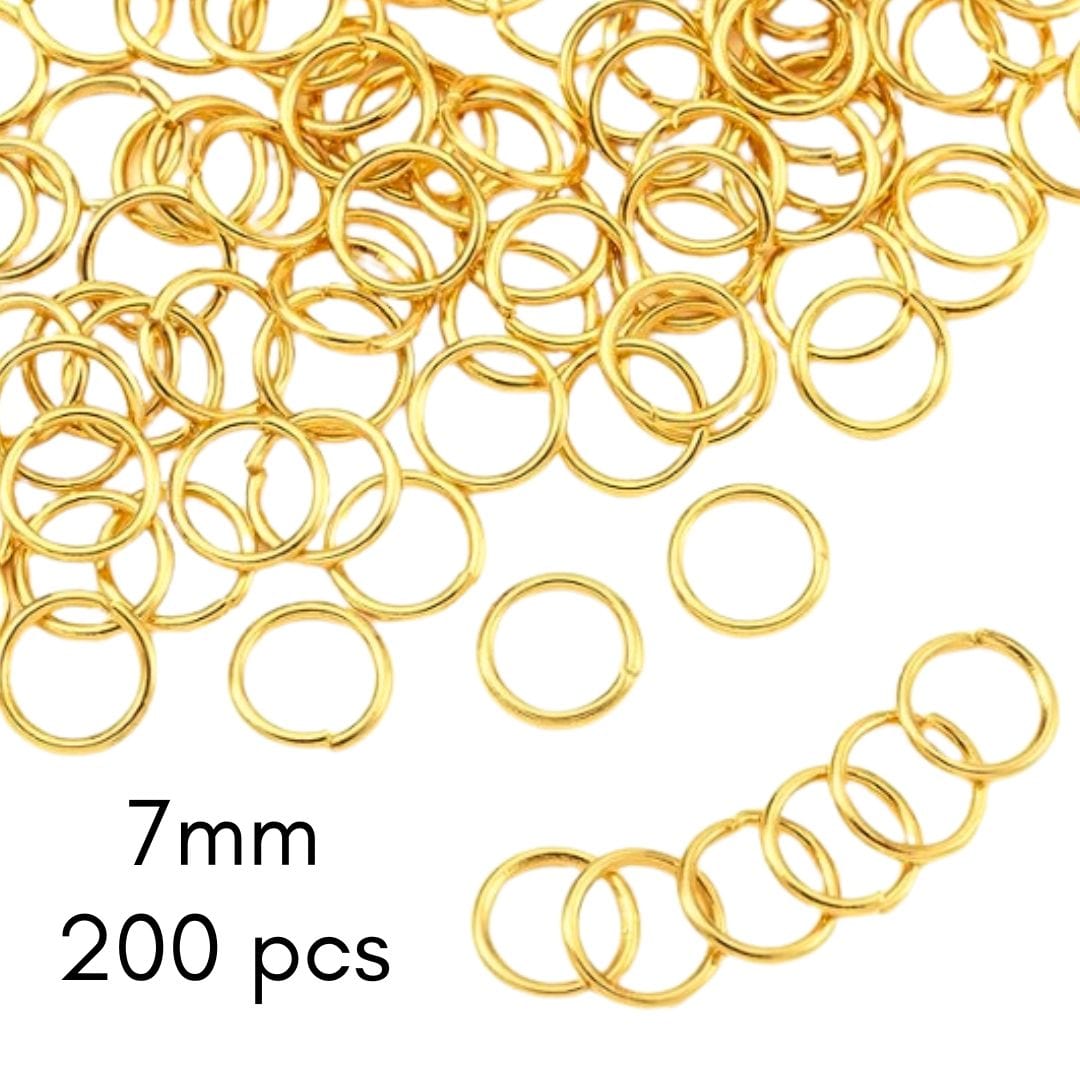
Jump rings and earring findings
Some tools, such as a pasta machine or handheld rotary drill, can make the process faster and help you achieve more consistent results—but they aren’t essential when you’re beginning.

The easiest way to get started
If you’re starting completely from scratch, our Polymer Clay Earrings Beginner Kit brings the core tools, clay, cutters and findings together in one place.
The kit includes:
-
An acrylic clay roller
-
Depth guides
-
A tissue blade
-
Hole cutters
-
Seven clay cutters
-
Wet and dry sandpaper
-
An awl
-
Jewellery pliers
-
Dotting tools
-
Jump rings
-
5mm ball earring posts
-
Shepherd hooks
-
Glitter
-
Sculpey Premo polymer clay in black and white
-
A selected Premo colour palette

Most importantly, the Beginner Kit also includes free access to our online beginner course. The course takes you through the process step by step, from preparing and rolling your clay to finishing and assembling your earrings.
If you already own some clay and tools, you don’t need to purchase the complete kit. You can purchase the Beginner Polymer Clay Earring Making Course separately for $35.
You’ll continue to have access to the course, so you can work through it at your own pace and return to individual lessons whenever you need a refresher.
Your practical polymer clay earring checklist
1. Quality polymer clay
The first thing you’ll need is oven-bake polymer clay. The quality and type of clay you choose can make an enormous difference to how easily it rolls, cuts and holds together after baking.
At Kit & Co., we recommend Sculpey Premo or Sculpey Soufflé for making earrings. Both are available in a lovely selection of colours and are suitable for creating thin, lightweight jewellery components.
Although Sculpey III is commonly available and easy to condition, it isn’t our preferred Sculpey range for earrings. We find that Premo and Soufflé are firmer, hold fine details more successfully and are better suited to durable jewellery components.

You can explore our current polymer clay colours or begin with a small palette containing black, white and a few colours you genuinely love.
There are plenty of beautiful premixed colours available, but mixing your own colours is one of the most enjoyable parts of working with polymer clay. It allows you to create custom colour palettes and repeat colours across future collections.
We also have a new colour recipe product coming soon. It will use just six core clay colours as the foundation for mixing a much broader range, making it easier to create your own coordinated palettes without purchasing every individual colour.
2. A smooth work surface
Your work surface is more important than it may initially appear.
We prefer to work on a simple gloss ceramic tile, which you can find at most hardware or tile shops. It provides a firm, smooth surface and helps the clay slab adhere properly while you cut your shapes.
Good adhesion between the clay and the tile helps prevent the slab from lifting, stretching or becoming stuck inside the cutter. A tile can also be moved easily without disturbing your work.
Before cutting, gently smooth or roll the slab onto the tile so there are no trapped air pockets and the clay has made even contact with the surface.
Avoid working directly on timber, porous stone or a textured benchtop, as these can mark the clay or make it difficult to lift your finished pieces cleanly.

3. A roller and depth guides
You’ll need something to condition and roll your clay into an even slab.
An acrylic clay roller is an excellent starting tool and is included in our Beginner Kit. It is small, easy to clean and allows you to feel how the clay changes as it becomes properly conditioned.
You can use the roller with a pair of 3mm depth guides. These sit on either side of your clay and prevent the roller from pressing the slab below the selected thickness.
An even slab helps your earring components bake and hang consistently. It also makes matching pairs much easier.
Is a pasta machine necessary?
No—a pasta machine isn’t essential when you’re beginning. However, it is one of the first upgrades we recommend if you want to work more quickly or produce larger collections.
A pasta roller can help you:
-
Condition clay more efficiently
-
Mix colours thoroughly
-
Create smoother colour blends
-
Roll larger slabs
-
Achieve a more consistent thickness
Depth guides are still useful when you own a pasta machine, particularly when you want to check or adjust the final thickness of a slab.
Pasta machines can be purchased from kitchen, craft and jewellery suppliers. If you use one for polymer clay, keep it exclusively for clay and don’t return it to food preparation.
4. Beginner-friendly polymer clay cutters

You don’t need dozens of cutters to begin. A small selection of versatile, uncomplicated shapes will give you plenty of possible earring combinations.
Our Basics Cutter Collection is a good starting point because these shapes are suitable for beginners. They don’t rely on very thin sections or highly detailed stamped impressions, both of which can require more practice to release and cut cleanly.
Simple arches, circles, rectangles and organic shapes can be rotated, layered and combined to create many different designs.
Once you’re comfortable conditioning clay, preparing your slab and using a release method, you can explore more detailed designs in our full polymer clay cutter collection.
5. A tissue blade
A thin, sharp tissue blade is useful for much more than slicing blocks of clay.
You can use it to:
-
Cut clay from a block
-
Lift a slab from your tile
-
Trim straight edges
-
Create geometric components
-
Slice canes
-
Remove small areas of excess clay
Tissue blades are extremely sharp, so handle them carefully and keep them safely stored when they aren’t in use. The Kit & Co. tissue blades now come with free 3D printed holders to help make them a little safer.
 6. Hole cutters or an awl
Before your earring components can be joined together, they need holes for jump rings or hooks.
The Beginner Kit includes both small hole cutters and an awl. These allow you to make holes in the raw clay before baking.
The small hole cutters—sometimes called micro circle cutters or clay hole cutters—can also be purchased as a separate set. They create consistent circular openings and are a practical an inexpensive option when you’re starting, and are safe for kids/teens.
An optional upgrade: a handheld rotary drill
As your work becomes more detailed, you may prefer to drill holes after baking with a small handheld rotary drill, such as a Dremel.
Drilling after baking allows you to:
-
Position holes more precisely
-
Create smaller, neater openings
-
Adjust a hole after checking the final arrangement
-
Drill stacked components together for better alignment
This can be particularly helpful when producing repeated designs or larger collections.
Use a fine drill bit and a low speed, support the baked component securely and wear eye protection. You don’t need a drill for your first earrings, but it is a worthwhile upgrade when you want a faster and more professional workflow.
7. Sandpaper and finishing tools
Even experienced makers don’t expect every clay component to emerge completely perfect.
Small uneven edges or areas that haven’t cut cleanly can usually be corrected after baking. Wet and dry sandpaper can be used to smooth edges and remove minor imperfections. A sharp craft knife can also be used carefully to trim small pieces of baked clay.
Beginning with a simple cutter and a well-prepared slab will reduce the amount of finishing required, but there is no need to panic if a component needs a little attention after baking.
Baby wipes are handy for cleaning your hands and work surface between colours. Dotting tools can be used for texture and decorative details, while a light dusting of cornflour can help release clay from more detailed cutters.
For a fine, even coating, you can apply cornflour with our Dusting Brush. The Kit & Co. Cornstarch Tapper Box and Lid is another useful option for keeping cornflour contained and applying it without creating too much mess.
8. An oven
Polymer clay must be cured in an oven according to the instructions on its packaging. It cannot be baked in a microwave.
A normal household oven can be used, although many makers eventually purchase a small dedicated oven for their studio.
For older ovens an oven thermometer is a helpful addition because the temperature displayed by an oven isn’t always the temperature inside it. Correct curing is essential: underbaked clay may remain weak, while excessive heat can discolour or burn it.
Always follow the clay manufacturer’s instructions for temperature and curing time.
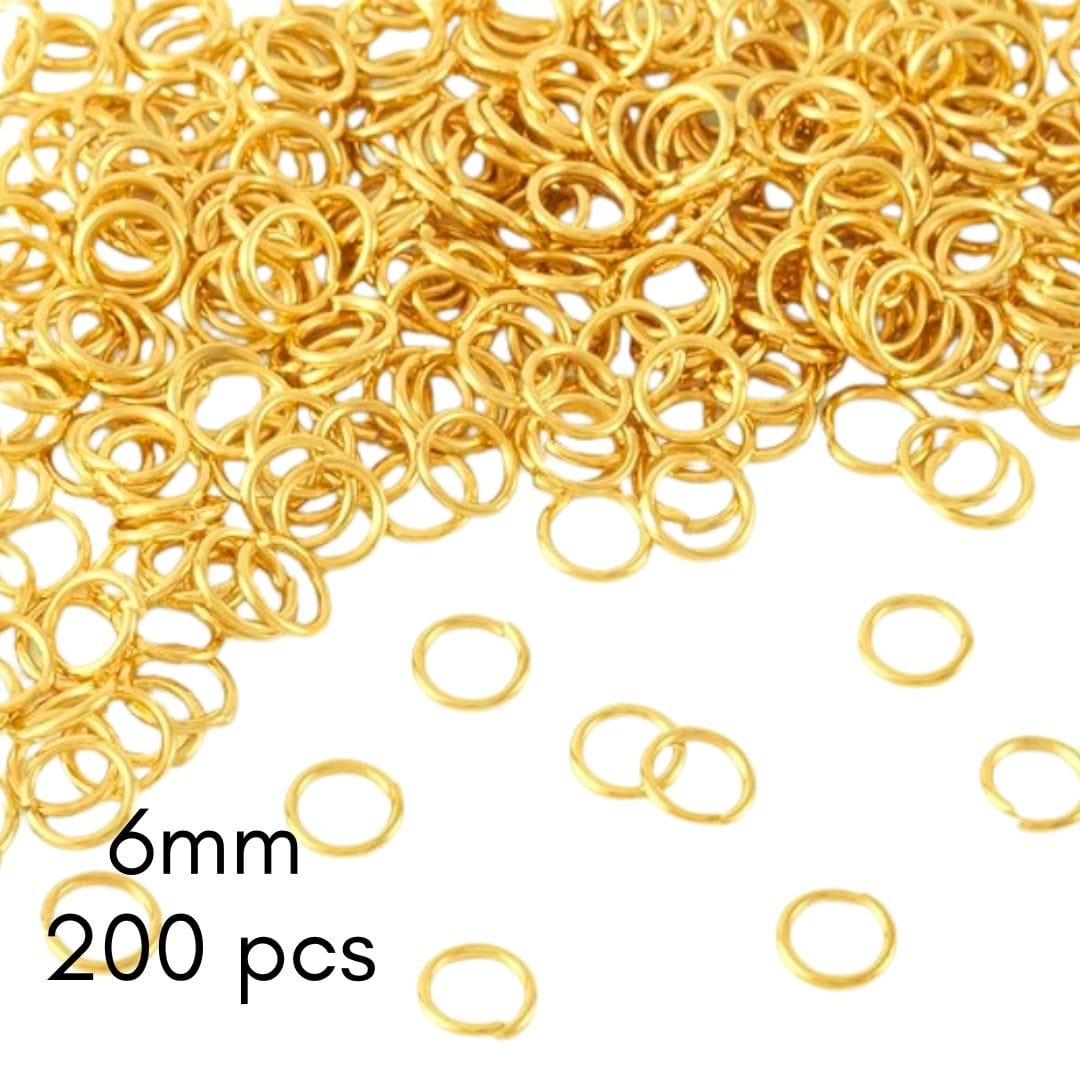
9. Jewellery pliers and jump rings
Once your components are baked and finished, you’ll need to assemble them.
A pair of jewellery pliers allows you to open and close jump rings, attach hooks and connect clay components.
Open jump rings by twisting the two sides away from each other rather than pulling the ring apart. This helps the ring close neatly again without losing its circular shape.
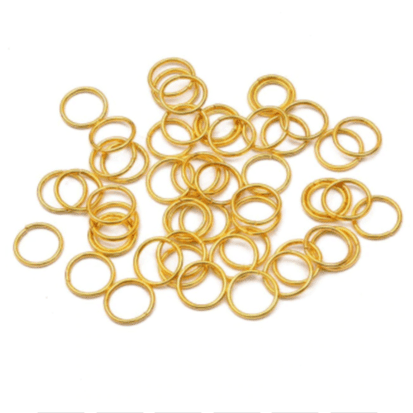
Jump rings are available in different sizes and finishes, so you can choose a size that suits the thickness and movement of your design.
10. Beginner-friendly earring findings
When you’re starting, we recommend using findings that don’t require you to attach a flat earring post directly to the polymer clay.
Good beginner options include:
-
Shepherd hooks
-
Hoops and huggies
-
Decorative earring posts

These findings allow your clay component to hang from an existing loop. You can concentrate on learning how to prepare, cut, bake and finish your clay without also having to decide how to secure a post to the back.
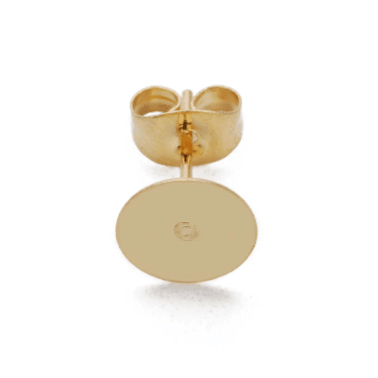
You can browse our earring posts and backs, decorative earring posts and wider range of jewellery findings and supplies.
When you’re ready to create clay stud earrings, you’ll need to explore the different ways of attaching posts to polymer clay. The right method can depend on the post, clay design, adhesive and desired finish, so we’ll cover this properly in a separate guide.
11. Choosing metals for sensitive ears
All Kit & Co. earring findings are considered hypoallergenic and are selected to reduce the chance of irritation for people with sensitive ears. However, sensitivities vary and no metal can guarantee that every wearer will be reaction-free.
We also carry a range of stainless steel earring findings, including posts, hoops, hooks and jump rings.
If you’re unsure which option is appropriate for your designs, read our guide to hypoallergenic and stainless steel earring posts. It explains the differences and can help you choose suitable findings for your earrings and customers.
What should you buy now—and what can wait?
You can begin with:
-
A glossy ceramic tile
-
A few simple clay cutters
-
Hole cutters or an awl
-
Wet and dry sandpaper
-
Ball posts, hooks, hoops or decorative posts
-
Access to an oven
Useful upgrades for later include:
-
A pasta machine dedicated to polymer clay
-
A handheld rotary drill such as a Dremel
-
Additional cutter shapes and sizes
-
More specialised sanding and finishing tools
-
Colour recipes for creating repeatable custom palettes
Start with the essentials, learn what each tool does and add equipment as your techniques and designs develop. You don’t need to purchase everything at once.
Frequently asked questions
What is the best polymer clay for beginner earrings?
We recommend Sculpey Premo or Sculpey Soufflé. Both are well suited to lightweight jewellery, hold details successfully and are available in a wide range of colours. Steer clear of Sculpey III, and cheap clays which can be sticky, hard to work with, and break easily after curing. It will only cause you frustration when you're hard work ends up with fingerprints, bubbles and fragile breakable components.
Do I need a pasta or clay machine to make polymer clay earrings?
No. You can condition and roll clay successfully with an acrylic roller and depth guides. A pasta machine is a useful later upgrade for faster conditioning, colour mixing and consistent slabs. Start with an inexpensive pasta machine, and upgrade to an Atlas or Lucy Clay Machine when you're experienced and sure about your new hobby.
Should I make holes before or after baking?
Both methods can work. Hole cutters and awls are used before baking, while a fine handheld drill is used after baking. Beginners can start with hole cutters and move to drilling when they want greater precision and a neater finish.
What earring findings are easiest for beginners?
Ball posts with loops, hooks, hoops and decorative posts are excellent beginner options. They allow clay pieces to be connected with jump rings, so you don’t need to attach a flat post directly to the clay. Shop earring supplies.
Can I bake polymer clay in my home oven?
Yes, provided you follow the temperature and curing instructions supplied by the clay manufacturer. An oven thermometer can help you check the actual temperature. Polymer clay should never be baked in a microwave.
We keep it simple, under 100 degrees in a standard fan forced over for 60 minutes has proven to work beautifully, but test your oven and your chosen clay brand before committing to a large bake.
Ready to make your first pair?
If you’d like everything gathered together for you, start with the Kit & Co. Polymer Clay Earrings Beginner Kit. It contains the core clay, cutters, tools and findings you need, along with free access to our beginner course.

Already have some of the equipment? You can purchase the online course separately for $35 and follow the lessons using the supplies you already own.
There is no single correct way to begin. Start with a few dependable tools, simple shapes and colours you enjoy—and give yourself permission to learn as you make.